There are any number of ways to use containers and numerous ways to build container images. The creativity of the community never ceases to amaze me - I am always stumbling across a creative new use case or way of doing things.
As our organization at $WORK has adopted containers into our production workflow, I have tried many different permutations of image creation, but most recently I have distilled our process down to three main strategies, all of which coalesced around our use of continuous integration software.

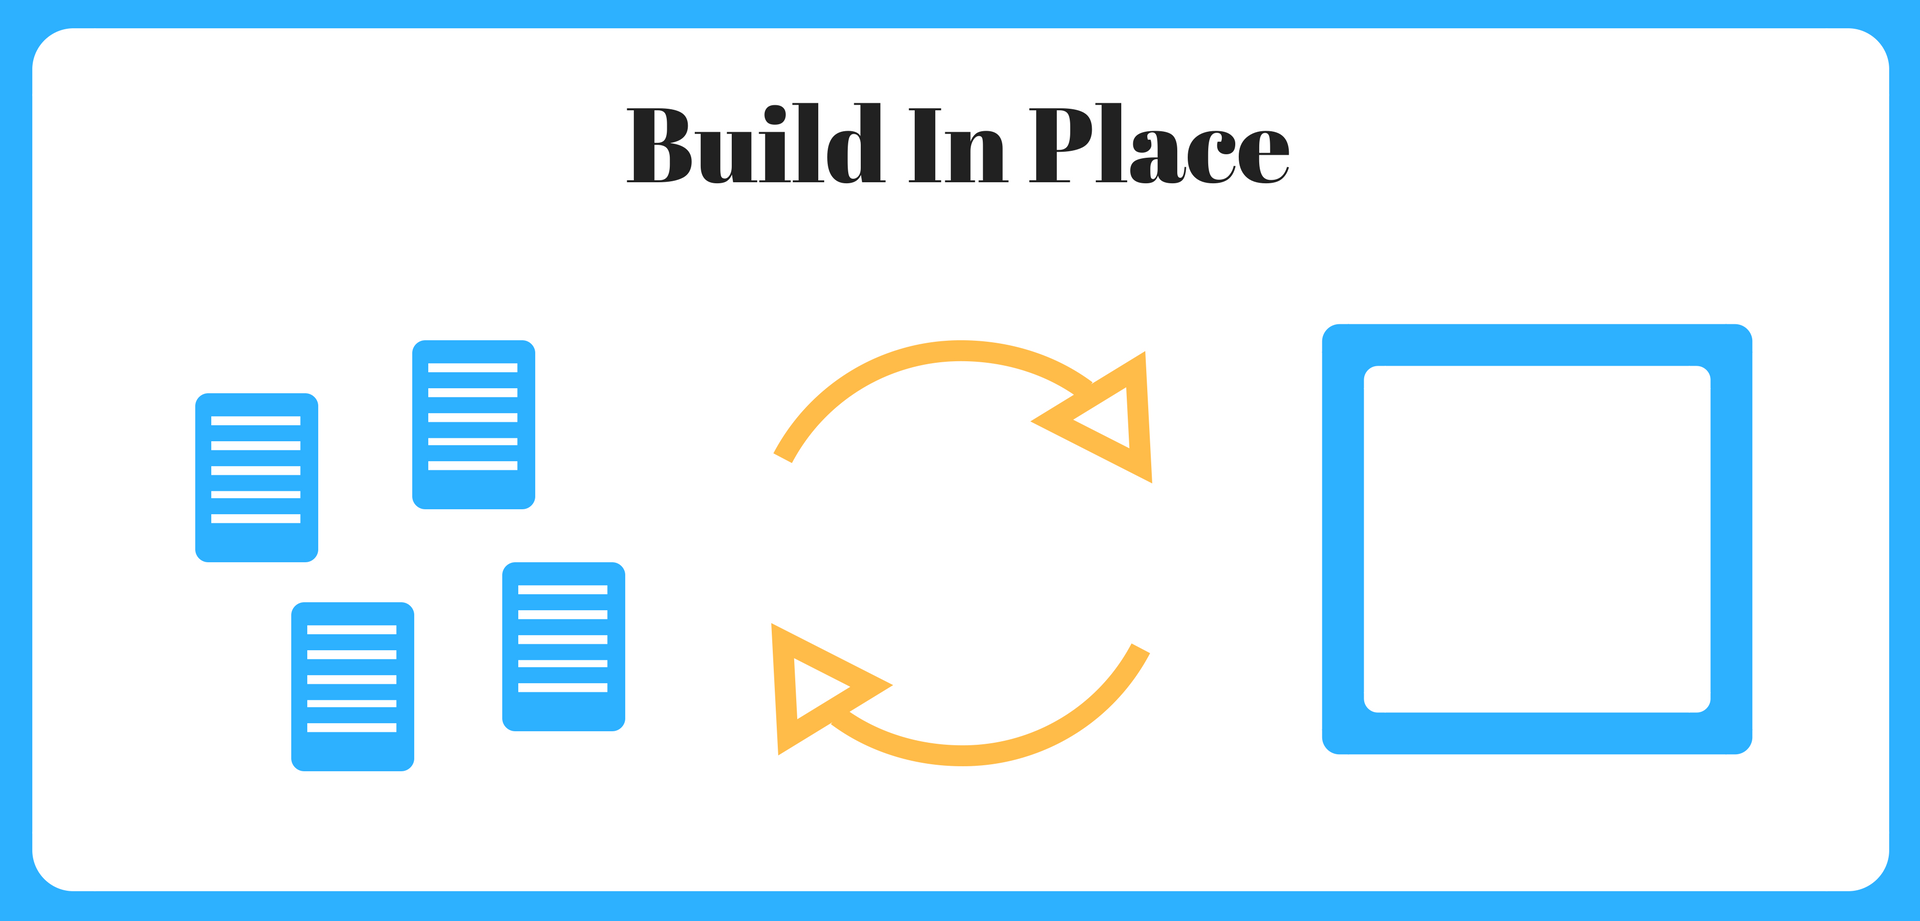
Building in Place is what most people think of when talking about building container images. In the case of Docker, the docker build command takes a Dockerfile and probably some supporting files are uses them to produce an image. This is the basic way to produce an image and the other two workflows below make use of this at some point, even if inherited from a parent.
The main benefit of this process is that it is Simple. This is the process as documented on the Docker website. Have some files. Run docker build. Voila!
It is also Transparent. Everything that happens in the build is documented by the Dockerfile. There are no surprises. There are no outside actions acting on the build process that can change the result [1]. You the human can see every step of the process laid out in the Dockerfile.
Finally, it is Self-Contained. Everything needed for the build to succeed is present locally in the directory on your computer. Give these files to someone else - in a tarball, or a git repo - and they too can build an identical image.
We use the Build in Place method to create our base images. These builds contain all the sysadmin-y tasks that used to go into setting up a server prior to handing off to a developer to deploy their code: software updates, webserver installation and generic setup, etc. The images are all generic and with very few exceptions, no real service we use is created from a Build In Place process.
[1] Unless you have a RUN command that curls a *.sh file from the web somewhere and pipes it to bash. But in that case you are really just asking for trouble anyway. And shame on you.

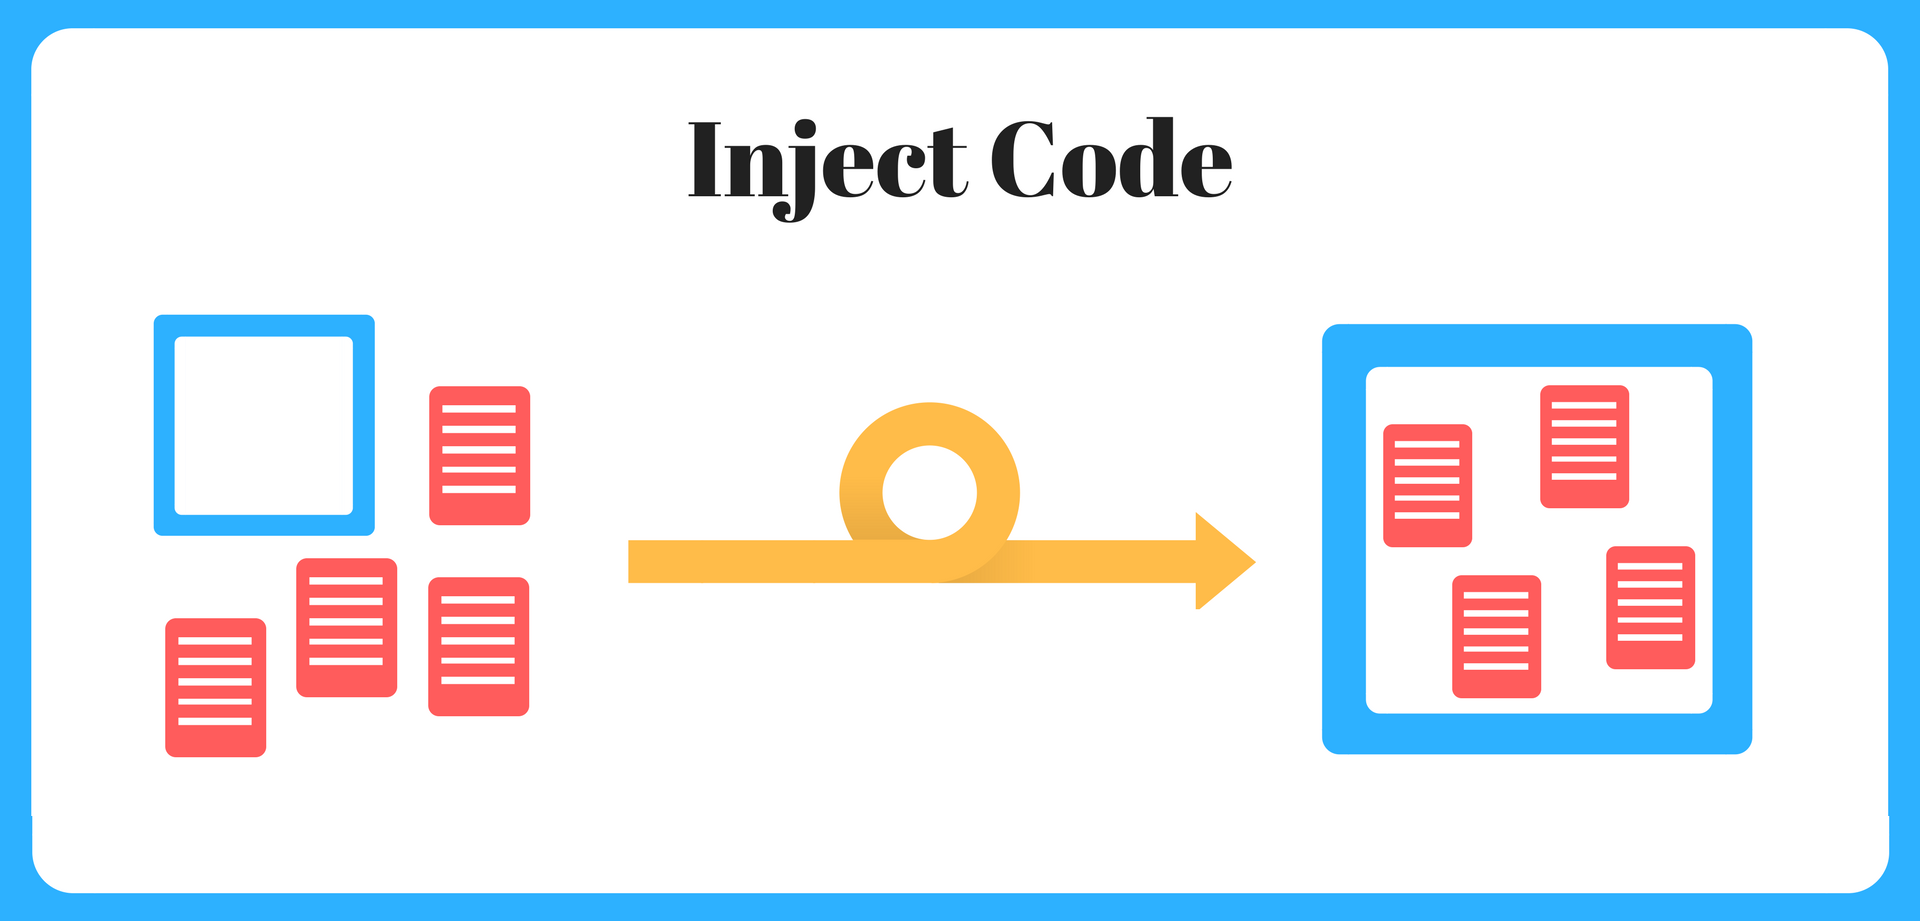
The Inject Code method of building a container image is the most used in our organization. In this method, a pre-built parent image is created as the result of a Build In Place process. This image has several ONBUILD instruction in the Dockerfile, so when a child image is created, those steps are executed first. This allows our CI system to create an empty Dockerfile with the parent image in the FROM instruction, clone a git repo with the developers code, and run docker build. The ONBUILDinstructions inject the code into the image and run the setup, and we end up with an application-specific container image.
For example, our Ruby on Rails parent image includes instructions such as:
ONBUILD ADD . $APPDIR
ONBUILD RUN bash -x /pick-ruby-version.sh
ONBUILD WORKDIR $APPDIR
ONBUILD RUN gem install bundler \
            && rbenv rehash \
            && bundle install --binstubs /bundle/bin \
                              --path /bundle \
                              --without development test \
                              --deployment \
            && RAILS_ENV=production RAILS_GROUPS=assets \
               bundle exec rake assets:precompile
The major benefit of this build worklow is that it Removes System Administration Tasks from Developers. The sysadmins build and maintain the parent image, and developers can just worry about their code.
The workflow is also relatively Simple for both the sysadmins and the developers. Sysadmins effectively use the Build In Place method, and developers don’t actually have to do any builds at all, just commit their code to a repo, triggering the CI build process.
The CI process is effectively just the following two lines (plus tests):
echo "FROM $PARENT_IMAGE" > Dockerfile
docker build -t $CHILD_IMAGE .
The simplicity and hands-off approach of this process is effectively Made for Automation. With a bit of automation around deploying a container from the resulting image, a developer can create a new app, push it to a git repo and tell the orchestration tool about it, and a new service is created and deployed without any other human involvement.
Unlike the Build In Place process (for which I couldn’t come up with a single real negative), Inject Code has a few gotchas.
The process can be somewhat Opaque. Developers don’t get a clear view of what exactly is in the parent image or what the build process is going to do with their code when the ONBUILD instructions run, requiring either meticulous documentation by the sysadmins (ha!) (Edit: I was rightly called out for this statement - see below [2]). tracking down and examining the Dockerfiles for all the upstream images, or inspecting them with the docker history and docker inspect commands.
The build process itself ends up being opaque in practice. By making it simple and one-step, the tendency is for developers to never look at it, and when the build fails they turn to the sysadmins to figure out what went wrong. This is really a cultural byproduct of the process, so it might not be an issue everywhere, but it’s what has happened for us.
The Inject Code process also makes it a bit tougher to customize an image for an application. We have to ship the parent image with multiple copies of ruby, and allow developers to specify which is used with an environment file in the root of their code. Extra OS packages are handled the same way (think: non-standard libraries). These end up being handled during the ONBUILD steps, but it’s not ideal. At some point, if an application needs too much specialization, it’s just easier to go back to the Build In Place method.
[2] A friend of mine read this after I posted and called me out on the statement here. I was being a poor team member by not either working with the sysadmins to help solve the problem, explain the necessity or at the very least understand where their frustrations are. I appreciate the comment, and am glad that my attention was called to it. It’s too easy to be frustrated and nurture a grudge when in fact the right thing to do is to work together to come to a solution that satisfies both parties. The former just serves as “wall building” and reinforces silos and poor work culture.

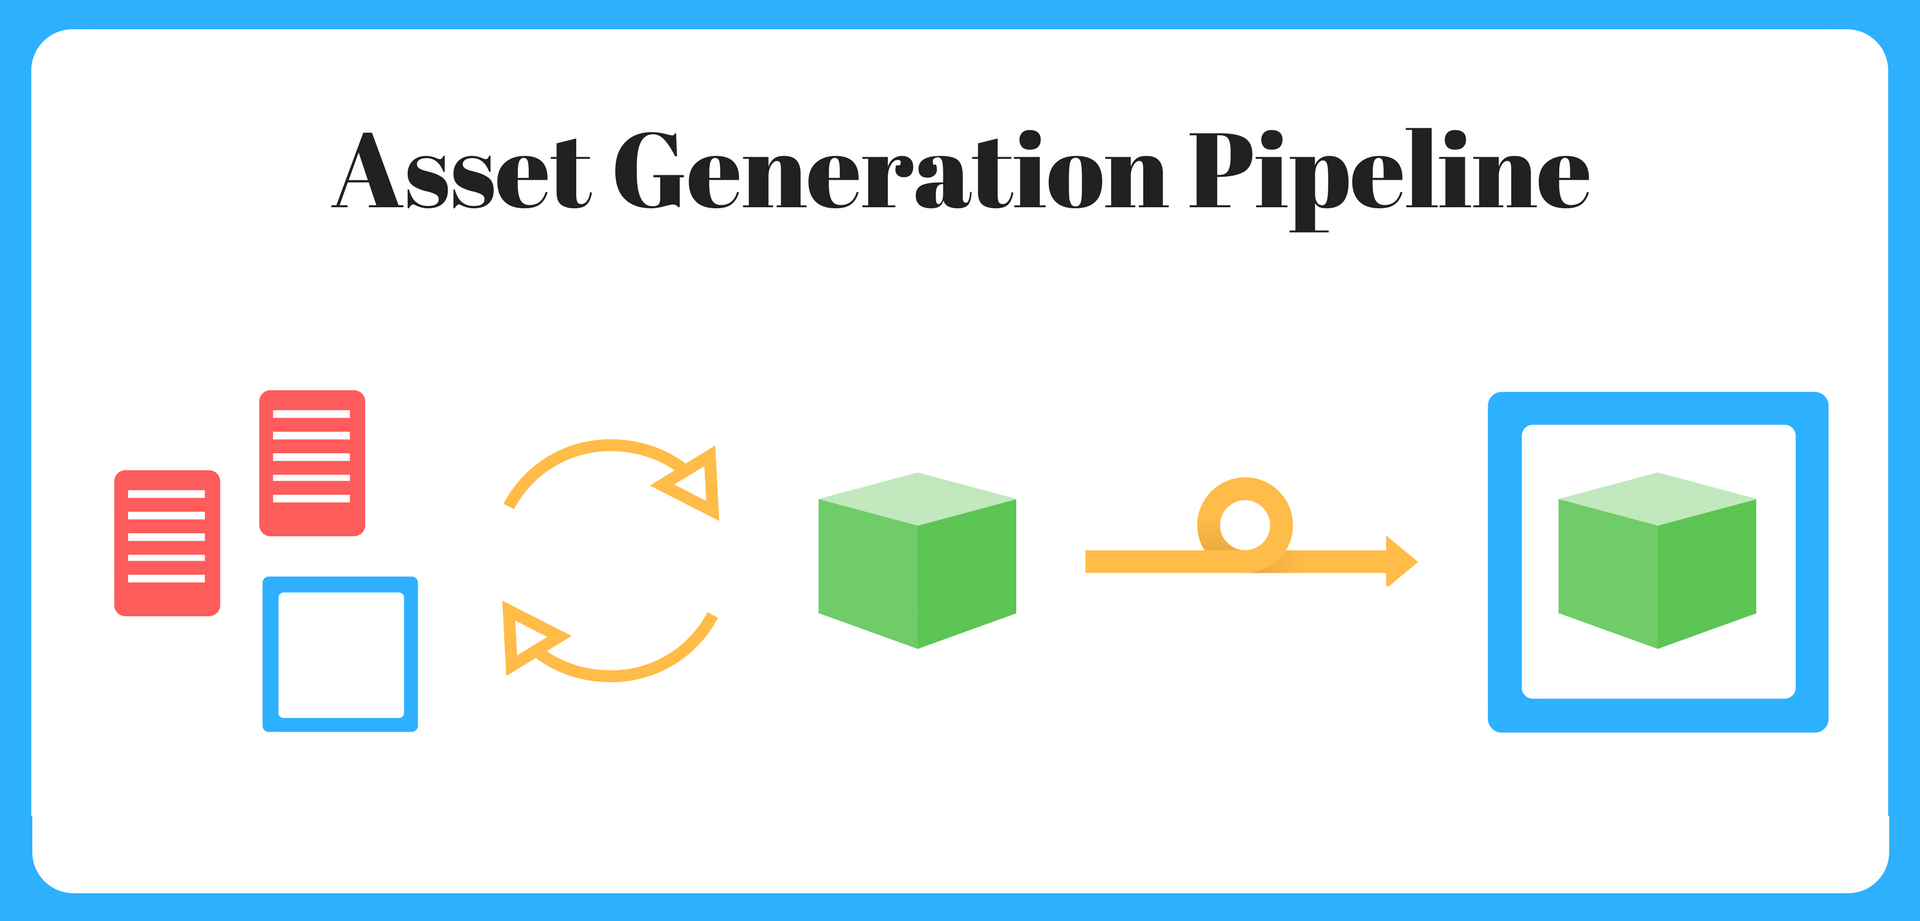
Our final method of generating container images is the Asset Generation Pipeline. This is a complicated build process that utilizes builder containers to process code or other input in order to generate the assets that go in to building a final image. This can be as simple as building an RPM package from source and dropping it onto the filesystem to be included in the docker build, or as complicated a multi-container process that compiles code, ingests and manipulates data, and prepares it for the final image (mostly used by researchers).
Some of our developers are using this method to manage Drupal sites, checking out their code from a git repo, and running a builder container on it to compile sass and run composer tasks to prepare the site for actual production, and then including the actual public-facing code in a child image.
The biggest benefit of this process (to me at least) is Minimal Image Size. We can use this process to create final images without having to include any of the build tools that went into creating it.
For example, I use this process to create RPM packages that can then be added to the child image and installed without a) having to do the RPM build or compile from source in the child image build process, or b) include any of the dev tools, libraries, compilers, etc that are needed to create the RPMs. Our Drupal developers, as mentioned above, can include only the codebase for the production site itself, and none of the meta information or tools needed to produce it.
This process also Reduces Container Startup Time by negating the need to do initialization or asset compilations etc at run-time. By pre-compiling and adding the results to the child file, the containers can move on to getting started up immediately on docker run. Given the time required for some of these processes, this is a big plus for us. Fast startup is good for transparency to end-users, quick auto-scaling for load and reduced service degradation time.
Finally a big benefit of this process is that it can Create Complex Images from Basic Parent Images. Stringing multiple builder containers along the pipeline allows each container to be created from a simple, single-task parent image. Each image is minimal and each container has a single, simple job to do, but the end result can be a very complex final image.
Drawback of the Asset Generation Pipeline process are fairly obvious. First off, it’s fairly Complicated. The CI jobs that produce the final images are long, and usually time-consuming. They require a lot of images, and create a lot of containers. We have to be careful to do efficient garbage collection - nothing is worse than being paged in the middle of the night because a build host ran out of disk space.
They are also More Prone to Failure. As any good engineer knows, more parts means more points of failure. The longer the chain, the more things that can go wrong and spoil a build. This also necessitates better (and more) tests. Having a half dozen containers prepare your code base mean it could be wrong in a half dozen different ways if your tests aren’t good.
Finally, from a technical perspective, using a pipeline that generates output makes it Difficult to Build Remotely. Our CI system relies on Jenkins or Gitlab CI host which connects to remove Red Hat Atomic servers to run the docker build command. This works by cloning repositories locally to the CI host, and sending the build context to the Atomic host. Unfortunately, generated assets are left on the Atomic host, not in the build context that lives on the CI server. This necessitates some workarounds to get the assets back into the build context, or in some cases, different build processes that skip the centralized CI servers in favor of custom local builds.
So those are the three primary ways we are building images in production at $WORK. There are tons of different and creative ways to create images, but these have proven to work for the use cases we have. That’s not to say there aren’t other legitimate cases, but it’s what we need at the moment, and it works well. I’d be interested to hear how others are doing their builds. Do they fit in one of these patterns? Is it something more unique and cool? There’s always so much to learn!
